PREPARE
1. Plan your recording
When you are planning self-recording of video or audio, start by deciding exactly what you need to record, and ensure you have the best technologies for the desired outcome.
A few questions to ask to ensure your content conveys your intended deliverables are- Do you wish this to be formal, professional, or merely conversational?
- What is the audience you will be sharing with, and have a good understanding of their needs?
- The length of the recording can be impacted drastically by the deliverables, the audience, and the style – know all contributing factors upfront.
2. Script and storyboard your video
GET YOUR FREE ELEARNING STORYBOARD TEMPLATE:
3. Use the right technologies
- Does this require a screen recording to convey the message correctly?
- Can this be done in the format required by shooting with your phone/laptop?
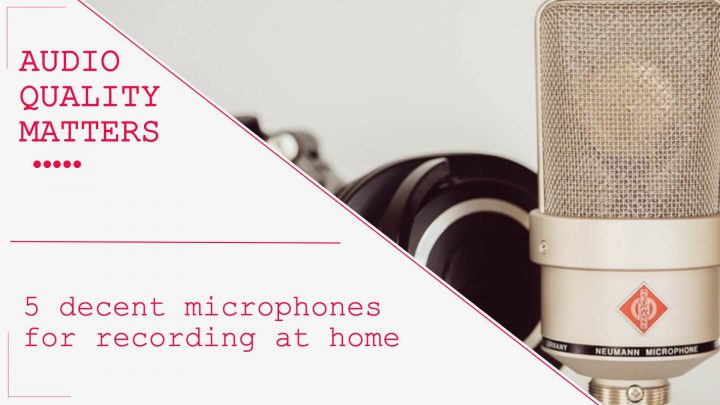
- Do you need some external microphones for your self-recording?
- Is there anything in this deliverable plan that is better executed with a camera?
- What video editing software will you use to combine tracks and angles?
READY TO GO
4. Frame your shot
5. Set your focus
- Use the autofocus option on your camera.
- Jump in front of the camera to rehearse your movements. When you know your position, replace your body with a stand or stick ( you can hang a hat or a coat on the stand or a back of a chair). Go back behind the camera and make sure you’re getting a clear image focusing on that object. Record it and test it on the bigger screen.
6. Test your audio levels
7. Test your light.
Use daylight if possible. Try shooting near a window or bright light source, but remember, – the light source needs to be behind the camera and directed onto you and your face—the more light, the better the quality of your footage. With daylight, you need to be mindful of changes in intensity (clouds might move, the sum might be stronger, causing changes in colour tone or continuity of the footage).
If you are at your desk, use two or three three-point lighting setup. It doesn’t have to be anything professional (although camera lighting is affordable now), and you can use a desk lamp.8. Take test video
9. Check the battery
10. Check the card/memory space available on your recording device.

TIPS & TRICKS
Now you are ready to start self-recording of video or audio, just a few more tips and tricks for you to remember to make it the best experience possible:- Never use the zoom feature on your phone as it can make your video blurry. Instead of zooming, move your phone or computer closer to you.
- Record the second audio track. When recording a video on a laptop, use an external microphone to record audio. If you don’t have a microphone, you can use your phone recorded. Set a laptop in front of you to record visuals, but use another phone closer to your face (but off-camera!) for better sound. It makes a difference in sound quality. When finished, you can combine both tracks in editing software.
- Clap your hands at the beginning to help sync tracks later. This will create a spike of noise that shows up as a tall spike during video editing. If you’re syncing up audio to a different visual source, it helps to have a visual cue for where that start syncs.
- Stop echo with household objects. You can do that by placing pillows, rugs, or blankets around to absorb sound. If you are recording a voiceover, you can also close yourself in your wardrobe to do that!
- Record room tone that can be used later in post-production. Record about 30 seconds of the base sound of the room. The sound recorded in a quiet and noise controlled environment can be used later to cover audio gaps, eliminate white noise, and create smooth out transitions between scenes.
CREDITS
If you want to know more about other about recording good quality audio, find out where to find free audio, sound and music resources and tools, check my other posts!






JOIN MY NETWORK, STAY CONNECTED, GET IN TOUCH!
JOIN MY NETWORK!
RELATED POSTS
8 types of learning infographics to create engaging learning experiences
15 learning design mistakes you should avoid when creating online courses